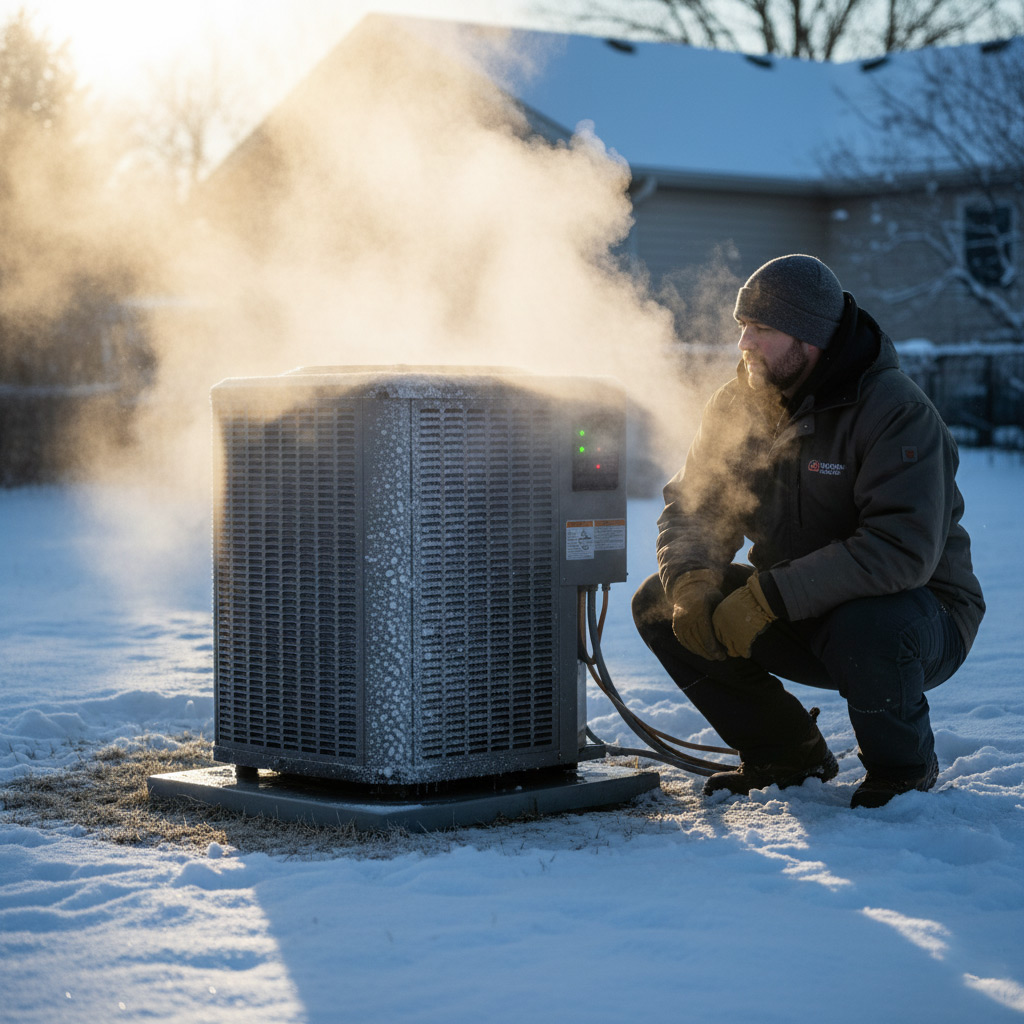
Picture this: your air conditioner sputters on a sweltering Garland afternoon, and you’re left sweating while the thermostat stubbornly reads 78°F. Most homeowners chalk it up to “just a bad day” and call a tech, but the real problem is often hiding in plain sight.
Seasoned pros know that a quick visual check only scratches the surface. They hunt for tiny leaks, clogged coils, and mis‑aligned ducts that can turn a simple repair into a month‑long nightmare – and they keep those tricks under their hats.
What if you could peek behind the curtain and spot those red‑flag signs before the system quits on you? The same shortcuts the experts use are easier than you think, and they’ll save you time, money, and a whole lot of frustration.
Ready to learn the exact moves the pros make and how you can apply them to your own home? Keep reading and you’ll discover the hidden checklist that turns a routine inspection into a power move for your comfort.

The Hidden Red Flags: What Most Homeowners Miss During a Visual Check
When you glance at your HVAC unit, the first thing you see is the metal box and maybe a few dust specks. Most folks stop there, assuming everything’s fine if the fan spins. What they don’t see are the subtle clues that scream “trouble ahead” before the system throws a tantrum.
Common Missed Clues
- Condensation pooling around the drain line – a sign of a clogged condensate pump.
- Discolored or bulging insulation on refrigerant lines – indicates a leak or over‑pressurization.
- Loose or rattling panels – often the first symptom of a failing motor mount.
- Faded or cracked wiring connections – can cause intermittent power loss.
These red flags are easy to overlook because they blend into the background. A quick visual sweep that includes a touch test on the coils and a sniff for odd odors can reveal moisture buildup or refrigerant leaks before they become costly repairs.
Uncovering Tiny Leaks: Tools and Techniques for Detecting Air and Refrigerant Loss
The Toolbox
Before you start, grab a few cheap but reliable gadgets. A handheld electronic leak detector will beep at the slightest refrigerant whisper, while a simple soap‑water solution bubbles up any air escape you can see.
For the tech‑savvy, a UV dye kit paired with a blacklight lets you chase hidden leaks like a detective in a crime novel.
- Electronic leak detector – works on most R‑22, R‑410A systems.
- Soap‑water spray bottle – cheap, effective, no batteries.
- UV dye & blacklight – perfect for hard‑to‑reach coil seams.
- Digital manifold gauge – shows pressure drop in real time.
Step‑by‑Step Detection
First, turn the system off and let it sit for 15 minutes. This stabilizes pressures so your readings aren’t fooled by a temporary surge.
Next, apply the soap solution to joints, connections, and the suction line. Watch for bubbles. If you see them, you’ve found a leak.
Run the electronic detector along the same spots. A steady tone means refrigerant is escaping; a faint chirp points to a tiny air leak that can still sap efficiency.
What to Do When You Find a Leak
If the leak is on a flexible line or a loose fitting, you can often tighten it yourself. Don’t over‑tighten – you’ll strip the threads and make things worse.
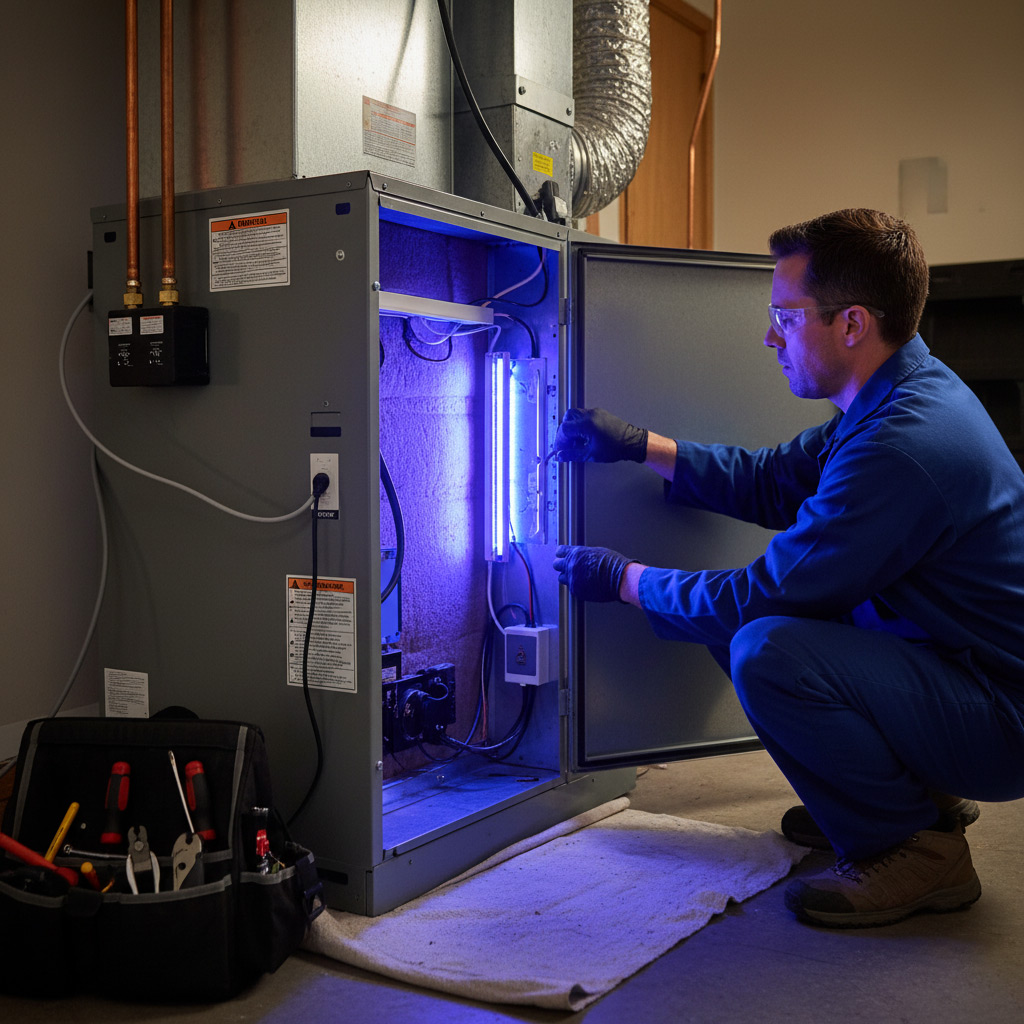
For coil or sealed‑system leaks, it’s time to call a pro. They have the equipment to evacuate, recharge, and certify the system.
- DIY fix: tighten fittings, replace cracked hoses.
- Professional repair: coil welding, refrigerant recharge.
- Prevent future leaks: schedule a yearly pressure test.
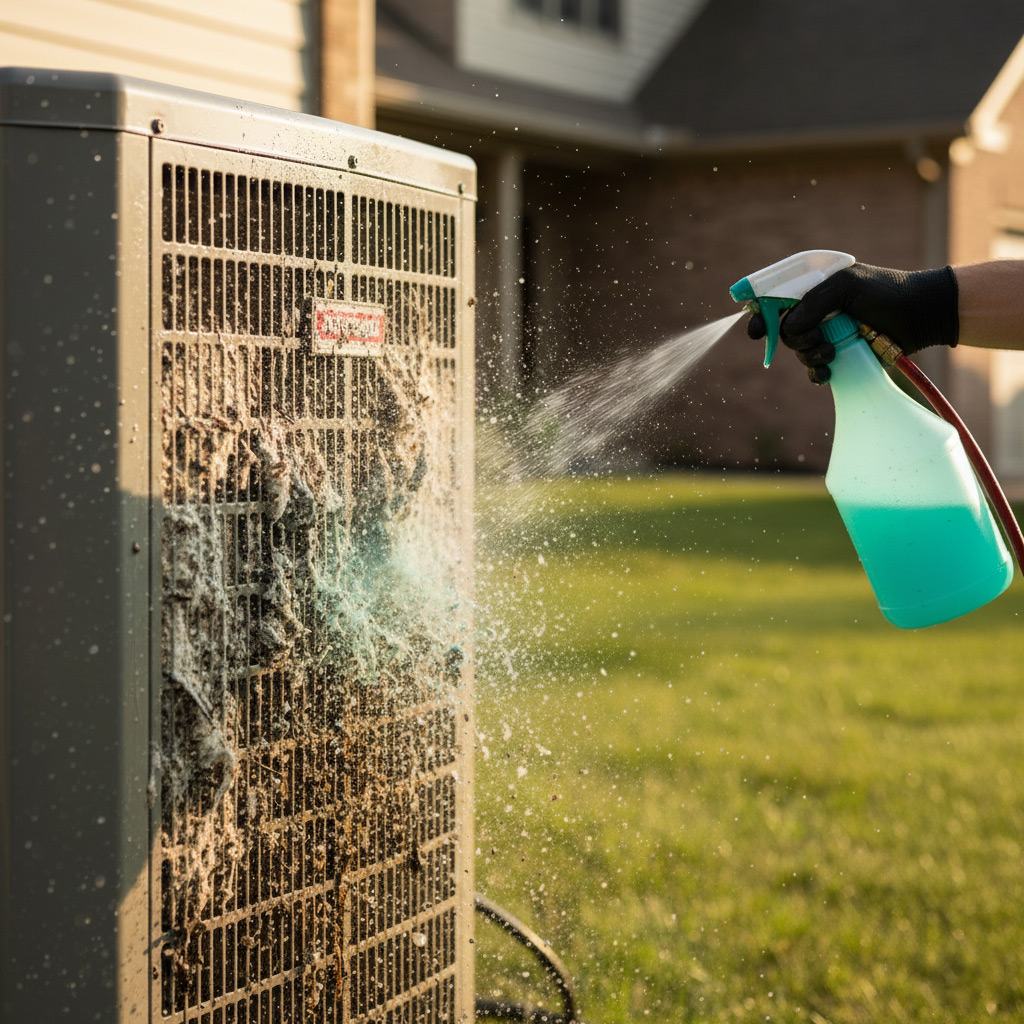
Coil Cleanliness and Efficiency: How to Spot and Clean Clogged Coils Yourself
Why Clean Coils Matter
When dust and pollen settle on the evaporator or condenser coil, the system has to work harder to move the same amount of air. That extra strain shows up as higher electric bills and a sluggish cooling response. A clean coil is the secret sauce that keeps your HVAC humming like a well‑tuned engine.
Spotting the Problem
Before you grab a brush, do a quick visual sweep. Look for a gray‑ish film, visible debris, or frost that won’t melt. If the air feels weak or the thermostat spikes, the coil is probably choking.
- Gray or brown buildup on the fins
- Reduced airflow from vents
- Unusual noises – rattling or buzzing
DIY Cleaning Steps
Turn off power at the breaker – safety first. Remove the access panel, then gently brush the fins with a soft‑bristle coil brush; don’t bend them.
- Vacuum loose debris with a low‑suction shop vac
- Spray a commercial coil cleaner, let it foam for 5‑10 minutes
- Rinse with a garden hose on a gentle setting, avoid high pressure
Reassemble, restore power, and watch the temperature drop back to comfort. Regularly checking the coils can save you a costly service call later.
Ductwork Alignment and Airflow: Simple Tests to Identify Mis‑aligned or Blocked Ducts
Feel the Pressure
Turn on the fan and walk around each vent. If you feel a weak puff or hear a whistling noise, that’s a red flag.
Grab a lightweight tissue and hold it a few inches from the grille. It should flutter vigorously. A limp tissue means air is being starved somewhere.
Quick Visual Scan
Open the nearest access panel and shine a flashlight down the duct. Look for obvious kinks, crushed sections, or dust piles that could choke flow.
- Check for loose clamps – they let air escape.
- Spot any sagging sections – gravity loves to pull them down.
- Notice discoloration – burnt insulation signals overheating.
DIY Air‑Balance Test
Grab a simple manometer or even a bathroom scale. Place the scale under a vent and note the weight change when the fan runs.
Compare readings from opposite rooms. A big difference means the duct path is either too long or blocked.
- Seal gaps with foil‑backed tape.
- Straighten bends with a flexible duct snake.
- Adjust registers to balance the flow.
The Thermostat Truth: Calibration, Placement, and Settings That Affect Performance
Calibrate Like a Pro
Grab a reliable digital thermometer and compare its reading to your thermostat’s display. If there’s a gap of more than 2°F, you’ve got a mis‑calibration that can waste energy and money.
Most units have a hidden “adjust” screw or a menu option—don’t skip the manual. A quick tweak brings the system back in sync, and you’ll feel the difference the next time the heat kicks on.
Where to Put It
Location matters more than you think. Keep the thermostat away from direct sunlight, drafts, or appliances that generate heat.
- Wall height: Aim for 5‑ft above the floor—high enough to avoid drafts, low enough to read comfortably.
- Avoid corners: Air circulates better in the middle of a room.
- Stay clear of doors: Open doors create temperature spikes that confuse the sensor.
Settings That Make or Break Comfort
Don’t let the default program run you ragged. Fine‑tune these three settings for a noticeable boost:
- Fan mode: “Auto” lets the system run only when heating or cooling is needed; “On” wastes power.
- Temperature swing: Set a 1‑degree swing to keep the system from cycling on and off.
- Eco or “smart” mode: Use it in mild weather; it backs off a few degrees and saves cash.
Real‑World Success: Case Study of a Garland Home Saved from a Costly HVAC Failure
When the Martinez family called, their 12‑year‑old split‑system was coughing out warm air on a 95°F July afternoon. The thermostat stubbornly read 78°F, and the unit’s fan was grinding like an old truck. They were ready to drop a six‑figure repair bill on a brand‑new condenser.
What Went Wrong
A quick visual scan missed the real culprit—a tiny, rusted refrigerant line hidden behind the attic insulation. The line had a pinhole leak that was slowly draining the charge, causing the compressor to overheat and shut down.
- Pinpoint leak using a UV dye stick and a handheld blacklight.
- Check coil temperature with an infrared thermometer; the evaporator was running too hot.
- Inspect the condensate drain; it was clogged, forcing the system into a safety lockout.
How We Fixed It
First, we replaced the compromised refrigerant line with a copper‑to‑copper splice, then evacuated the system and re‑charged it to the manufacturer’s specs. Next, we cleaned the evaporator coil with a low‑foam coil cleaner, flushing out months of grime.
- Re‑sealed the condensate line and added a float switch to prevent future lockouts.
- Balanced the blower motor speed to improve airflow across the cleaned coils.
- Calibrated the thermostat and relocated it away from direct sunlight for accurate readings.
The result? The Martinez home stayed under 75°F for the rest of the summer, and the repair cost was under $1,200—less than a quarter of the quoted replacement price. They now run a simple monthly check that catches the same red flags before they become expensive emergencies.
Your DIY Inspection Checklist for Year‑Round Comfort
Grab a pen, walk around the house, and run through this short list before the next bill hits your mailbox. It takes five minutes, saves you a callout, and keeps the air flowing like it should.
Monthly Quick Scan
- Check the outdoor unit for debris—leaves, twigs, or a stray soccer ball.
- Listen for odd noises when the fan kicks on; a rattling or squealing note means something’s rubbing.
- Verify the thermostat reads the temperature you set. If it’s off by more than 2°, note the discrepancy.
Seasonal Deep Dive
- Inspect the air filter. If it’s dirty, replace it—this alone can boost efficiency by up to 15%.
- Look at the refrigerant lines for frost or oil spots; those are tell‑tale signs of a leak.
- Open each vent and feel the airflow. Weak spots point to blocked ducts or mis‑aligned registers.
When you spot a red flag, don’t wait. A quick call to a local pro can nip a problem in the bud before it turns into a costly repair. Need a deeper dive? Our HVAC Inspection page walks you through every step, from leak detection to coil cleaning.
People Also Ask
What hidden signs indicate my HVAC system needs service before a breakdown?
A slight increase in energy bills, uneven room temperatures, and odd noises from the unit are early warning signs. Even if the system appears to run, these subtle cues often point to underlying issues that need attention.How can I detect tiny refrigerant leaks without professional equipment?
Use an electronic leak detector or apply a soap‑water solution to copper lines and connections; bubbles will form at leak points. A strong, sweet odor similar to gasoline can also indicate a refrigerant escape.Why is coil cleanliness crucial for HVAC efficiency?
Dirty coils restrict airflow and force the compressor to work harder, raising energy consumption and wear. Regularly cleaning the coils can restore up to 15% of lost efficiency.What simple test can I perform to check for mis‑aligned or blocked ducts?
Turn on the system and feel each vent for consistent airflow; a noticeable drop in pressure or cold spots suggests blockages or misalignment. You can also use a handheld anemometer to measure airflow rates and compare them across rooms.How does thermostat placement affect my HVAC performance?
A thermostat located near heat sources, direct sunlight, or drafts can give inaccurate readings, causing the system to run longer than needed. Position it on an interior wall away from windows and doors for the most reliable temperature control.Garland HVAC has served the Garland community for over 15 years, delivering reliable heating and cooling solutions. Their certified technicians combine local knowledge with industry expertise to keep homes comfortable year‑round. Committed to responsive service, they prioritize safety and energy efficiency for every project.
Need HVAC?
We deliver rapid, reliable solutions to homes and businesses in Garland, TX (75040‑75044) and neighboring areas, ensuring results are completed on schedule.
Request a fast quote